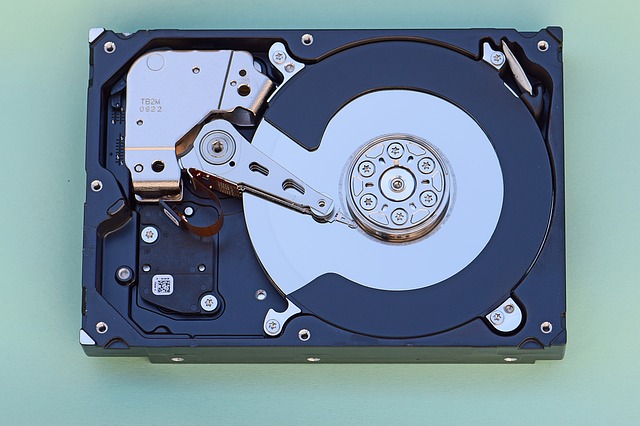
Hard drive partitioning is basically dividing one hard drive into parts. It comes with a lot of benefits to the user.
Partitioning your hard drive help you to back up important files on one part whiles the other can be used as a temporary storage for windows files and installed programs.
You can either use the Windows Disk Management Tool to partition your hard drive or use third party apps like Easeus Partition Master, Mini Tool Partition Wizard and GParted.
The best way I will recommend is the Windows Disk Management Tool.
Learning how to partition your hard drive should only take you few minutes to do.
I’ve listed the process below for you to follow.
See the steps below. Note that the steps below apply to all versions of Windows (10, 8 and 7)
You can watch the video on hard disk partition tutorial below or read on.
Steps to partition hard drive on windows 10.
Method 1: Using the Windows Disk Management Tool
I assume that you have logged on to your Windows PC with an administrator account.
- Click on File Explore Icon from the taskbar

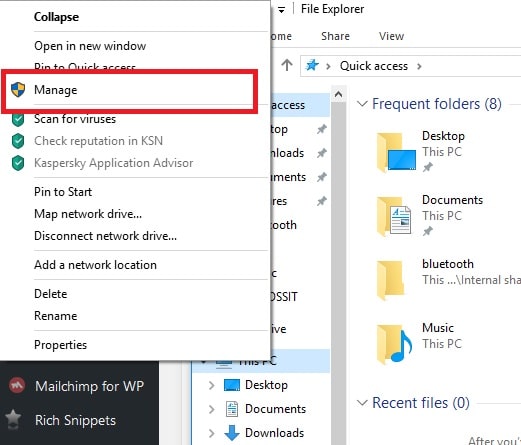
- Right-click on This PC from the left navigation panel of the opened File Explorer
- Click on Manage from the menu that appears. The computer Management window will open.

- Click on Disk Management
- Right-click on the disk you would like to partition
- Click on Shrink Volume from the drop-down menu that appear.

- Enter the amount of space you want to shrink / partition in Megabytes
- Click on Shrink and wait for Windows to create the partition.
- You will have a new unallocated space. Right-click the Unallocated space and select New Simple Velum from the drop-down menu.

- Follow the instructions and click the next buttons until it finally creates the new volume.
Your hard disk will now have a new partition. You can now backup your most important stuffs on this newly created partition.
Method 2: Using third party software.
Aside using the windows disk management tool, you can use software like Easeus partition manager, GParted and other useful applications out there.

